Hi! I thought you might enjoy a step-out for a "hearty" Valentines tile or two.....
It utilizes
Carole Ohl's Bumpadox and
Rick's Paradox. If you haven't tried Paradox, I suggest you play with it a few times first. And when you're familiar with it, give a warmup try with Bumpadox. Now on to the heart!
I started with a hexagon tile that I cut with my die cutter using Spellbinders hexagon nestabilities dies. But if you don't have a hexagon tile to work with, you can use a stencil, or fold or cut a template to make your own (there are you-tubes out there showing folding one for example. But if that's not your speed, don't lose hope, I'll show another alternative shortly)....
I outlined my hexagon shape then found the center point. To find your center point, visualize a line (but don't draw it) from one point to its opposite point and hover your pen over the approximate center of that "line". While you hold your pen steady over that spot, visualize an intersecting line from two other opposite points (it doesn't matter which 2, just that they are opposite of each other. Adjust your pen so that you are over where those two imaginary lines would intersect and make a light dot. That's the center. Now draw a line from the center to any one of the points. Skip the next point of the hexagon and draw another line from the center. Skip another and draw a third line from the center. Do you see you made a cube? And your cube consists of 3 diamonds? It's this diamond shape, or rather two side to side diamonds that creates a heart like shape with Bumpadox.
And draw a line with with a bump about 2/3rds of the way up. (Note, I actually draw my Bumpadox from the point, so I turn my tile upside down pulling my line toward the center point to more comfortably draw the line.)
And draw a mirrored line in the other diamond.
Choose one of those two diamonds and continue with paradox, bumping out just the one side.
And now mirror the other side.
You have the basic heart. Don't fret if it's not exactly heart shaped...you can adjust it with shading as you'll see soon.
You could draw paradox or another Bumpadox in the remaining diamond, however I chose to split the diamond into two triangles...
And mirrored more Paradox.
Now for rounding out that heart shape (with colored pencil in my case, but you could also do this with graphite). And some more shading here and there. I tend to emphasize where the lines come together.
And I added just a touch of graphite.
Here is the completed tile in my diorama card. (I'll be sharing more information about the making of these cards soon.
While scrolling through the Mosaic app recently, I ran across a triangle fragment, Heartwell, by Valerie Hayes. If you're on the app, check her out and her February 11, 2018 tile. Her tile was on a triangle grid and it was obvious to me that that is certainly a way to construct a hexagon grid as well, you just need to visualize the hexagon as a gathering of 6 triangles coming together in a point. So here's my version.....
I typically draw the horizontal lines first and then the angled lines. As you can see, my hexagon isn't perfect, but it works just fine.
Once I had the grid penciled and the hexagon inked, I turned my tile a quarter turn to see the cube.
And continued as I did in the tile above.
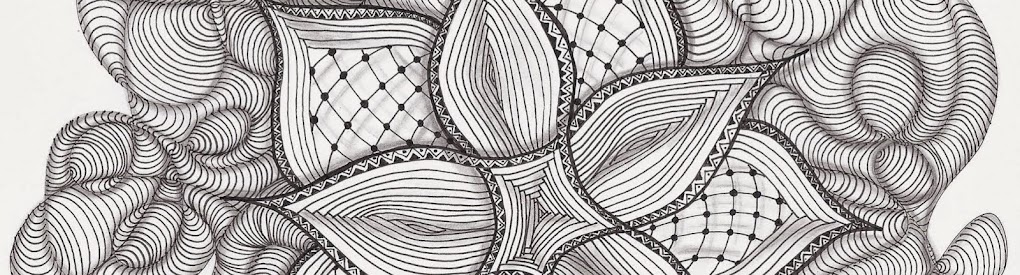
This time I went crazy with filling in all the remaining triangles with mirrored paradox.
Here's a glimpse of what's to come.
I hope you enjoyed this and give it a try!
Thanks for stopping by....check back soon if you're interested in diorama cards (3D boxes that fold flat and fit in an envelope for mailing.)